This class was so much fun! What I learned the most from this class is that you can ink with acrylic stamp blocks! I would have never even thought of this idea! This is what makes the AECP classes so educational! When you can use your craft supplies in various ways, it's so inspiring! Plus economical too! When the mini paintbox stamp and die set was released last month, I just had to grab that little gem right up! I followed the blog hop to gain inspiration for my card. I took an acrylic block size of 1x3 and inked up various colors of mango smoothie, puffy heart, turquoise, frayed leaf and vanilla cream to create a rainbow effect on the card. After the ink was on the acrylic block, I misted the block with water to give the ink a "water color " feel to it....Once all the colors were aligned, I matted the pattern onto a raspberry card stock as I thought this made the palette POP! I then took the mini paint box and filled it with colors! I can really see a child loving this set too! After I die cut two paint box sets, I assembled the card, using foam tape to give dimension to one of the paint boxes.
So this was a bright and bold color card but I also love a soft delicate card. I also learned to use my inks as watercolors! Again, I would not have thought of this idea as I always just used watercolor paints. Using your ink pads as water colors allows for a more uniform look on your card! I first put a bit of mango smoothie and sea breeze on my craft mat and misted with water. I took watercolor paper, gave it a light wash of water and with a paint brush added Mango Smoothie and Sea Breeze to various sections of the card. I just randomly placed the inks and let the inks naturally spread throughout the watercolor paper. I repeated this until I achieved my desired effect. This created my background.
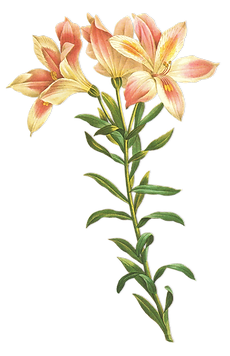
Since the colors were delicate, I wanted a dainty flower and reached for my Peony Bouquet stamp set taking the small flowers. Using inks from the deep blue set, I layered my flowers. I then fussy cut them out as I do not own the die cuts. (on my list now...haha) I liked pairing the flowers with the burlap texture die and I just knew that to keep my delicate theme, I had to place my sentiment from the Beautiful Day Set on vellum which was heat embossed with silver embossing powder. I inked the card edges for the finished touch and added a few pearls, which added just the right touch of bling! This may be one of my favorite cards so far! Until next time! Bye!
The projects look fab!! Thank you for submitting your work to the AECP assignment gallery. Keep it up!